Accessories
How to Tie a Bow Tie Step by Step: A Tailor's Guide
The steps for tying a self-tie bow tie from start to finish, tips for practising on your thigh in a mirror, balancing the wings and re-tying a loose bow.
Mon Amie · 15/10/2026
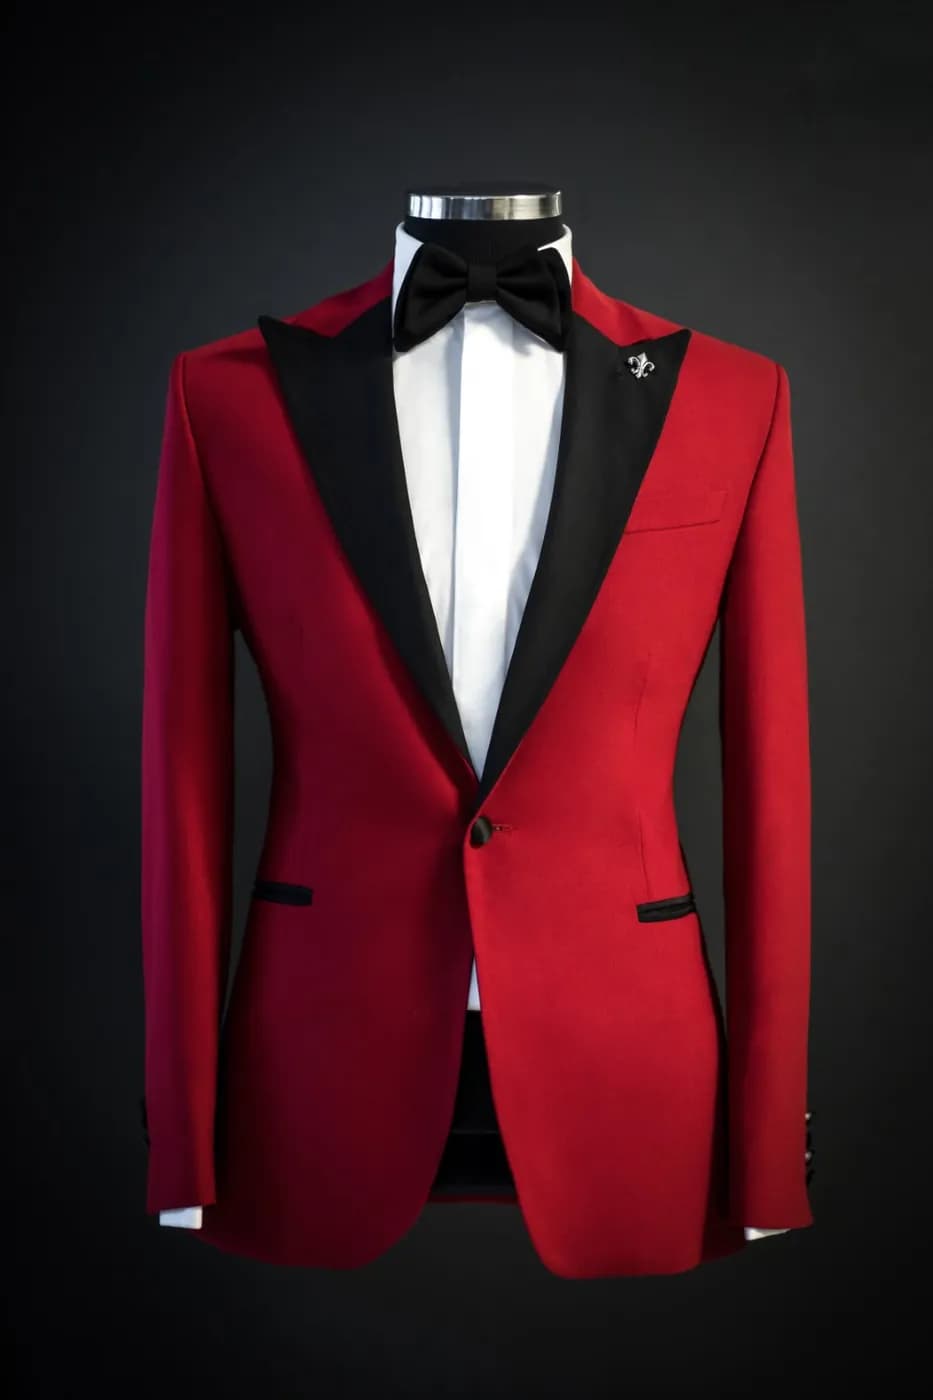
Tying a bow tie is really a chain of six movements, much like tying a shoelace. The difficulty is that you must do it in a mirror, where your hands move opposite to the image. A few attempts with the exact tie you will wear, and it will start to obey you.
The self-tie bow is the standard of black tie, because only a hand-tied bow has that slight, natural irregularity a pre-tied one lacks. This guide walks through each step for right-handed wearers; if you are left-handed, simply swap left and right. For the difference between the two types see self-tie and pre-tied bow ties.
Before you start
- Button the shirt all the way up and stand the collar up. Fold it down only after the bow is tied.
- Adjust the band to your neck size so it fits without squeezing.
- Sit or stand straight in front of a mirror with enough light to see both hands.
- For practice, choose a material that grips. Grosgrain and velvet are less slippery than satin, so beginners should start with those.
Six steps
- Drape the tie. Lay the band around the back of the neck with both ends hanging in front. Let the left end hang about four centimetres longer than the right. The long end will form the knot and the short end will form the front wings.
- Cross over. Bring the long end across the short one, up through the loop around your neck and pull it down. This is like the first knot of tying a shoelace.
- Form the front bow. Fold the short end into a butterfly shape lying horizontally at your throat. Pinch the middle with the thumb and forefinger of your left hand.
- Drop the long end. Let the long end hang down over the front of the centre of the bow. This becomes the middle of the knot.
- Make the back loop. Fold the long end into a small loop pointing backwards. Push this loop through the gap behind the knot, between the folded front bow and the first knot.
- Tighten and adjust. Take hold of both wings and pull gently outward so the knot tightens. Then adjust each wing until they match.
If you lose your place, undo it completely and start from step one. Trying to repair it halfway usually leaves the bow more creased.
Tips for practising on your thigh in front of a mirror
Many people find a bow tie hard to tie on the neck because they cannot see what their hands are doing. Two simple ways to practise:
- Practise around your thigh: wrap the tie around your thigh, or around a bottle, and tie it as you would around the neck. You see it directly from above, so you understand the shape of the knot and the path of the band. Once it is familiar, move up to the neck.
- Practise slowly in a mirror: do one step at a time and pause at each to fix its look in your mind. After a few repetitions your hands will remember without your eyes.
Practise with the very tie you plan to wear on the important day, because each material is slippery in a different way. Practising ahead also tells you how long the band should be to fit your neck. Common mistakes are collected in mistakes when tying a bow tie.
Balancing the two wings
A newly tied bow is usually a little crooked. Adjusting comes down to two actions:
- Hold the central knot with one hand and, with the other, pull each wing gently outward so both open evenly. If one wing is larger, pull its tail end (the part that emerges at the back) to make it smaller.
- Look straight into the mirror and check that the knot is centred on the neck, the wings are level and tilt equally to each side.
Do not chase perfect symmetry. A slight irregularity is the very mark of a hand-tied bow. If the wings are stiff and identical as if from a mould, the viewer assumes the bow is pre-tied.
Re-tying when it loosens
After a few hours at a party the bow may shift or loosen. How to handle it:
- If it has only sagged slightly: hold the knot and pull both wings outward to tighten.
- If one wing collapses or the bow tilts badly: go to the restroom, untie it and tie it again from the beginning. Thirty seconds of redoing beats an evening with a crooked bow.
- If it keeps slipping: the band is too loose for your neck or the material is too slippery. Adjust the band length before you leave.
You can also ask someone to help. Tying a bow for another person differs a little because you work from behind, as explained in tying a bow tie for someone else.
At Mon Amie
If you buy the bow tie with your tuxedo, a Mon Amie consultant can show you how to tie it during the fitting and check that it suits your neck and collar. See our made-to-measure tuxedo service or book a fitting at a showroom.